


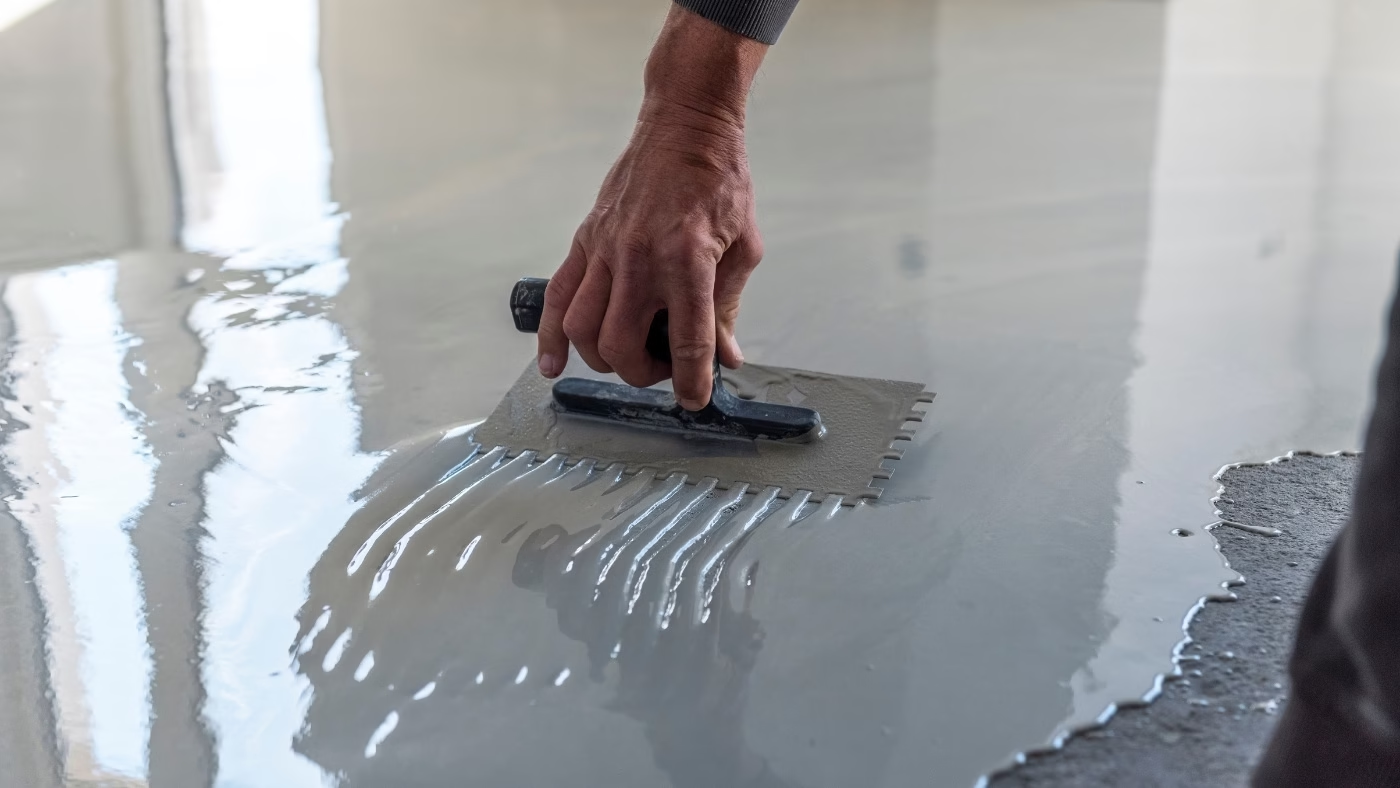
Applying a self-levelling compound involves a sequence of steps. First, clean the substrate, repair any cracks and apply a primer, then install perimeter movement joints and set the required level. Only then should the compound be mixed, poured in strips and worked with a spiked roller to release trapped air. Subfloor preparation is critical, because mistakes made before pouring are difficult to put right afterwards.
Self-levelling compound at a glance
- The seven steps cover cleaning and repairs, checking absorbency and moisture, priming, installing perimeter movement joints, setting the level, mixing, and pouring and releasing trapped air.
- Priming three to five hours before pouring seals the substrate and improves adhesion. Highly absorbent substrates need two coats.
- Pour the compound in strips 30 to 40 centimetres wide, mixing each batch quickly enough for adjoining strips to merge while still fluid.
- Drying takes one to seven days, depending on the layer thickness and the type of compound. Rapid-setting products allow work to resume after around 24 hours.
Preparing the substrate
The substrate must be sound, stable, dry, free of dust and stripped of old coatings. A self-levelling compound evens out the surface, but it cannot repair a substrate that moves, crumbles or sheds dust.
Step 1. Cleaning and repairs. Remove skirting boards and threshold strips, scrape away friable material, particularly at joints between tiles or parquet blocks, and remove old adhesive, bituminous compounds, paint and oil stains. Vacuum the entire surface once this is done. Dust and grease prevent the new layer from bonding to the existing floor.
Repair cracks and hairline fractures with epoxy resin and glass-fibre matting, and fill deeper depressions with cement mortar. A depression that exceeds the compound’s maximum application depth will remain visible in the finished surface.
Step 2. Checking absorbency and moisture. A drop of water takes around 60 seconds to soak into a substrate with normal absorbency. Faster absorption indicates a highly absorbent surface, while a longer time points to a dense, low-absorbency substrate, such as terrazzo or resin flooring. Each requires a different choice of primer. The moisture content should not exceed 2% for a cement-based substrate or 0.5% for an anhydrite (calcium sulphate) substrate.
Step 3. Priming. Pour the primer onto the substrate and spread it with a wide brush, applying a second coat to highly absorbent surfaces. The primer seals the surface, makes its absorbency more uniform and improves the compound’s adhesion. It also prevents air from escaping from the substrate into the wet compound and leaving pinholes. Apply the primer three to five hours before pouring.

Setting the level, mixing and pouring
After priming, four tasks remain: installing perimeter movement joints, setting the level, mixing the compound and pouring it. Pouring must proceed without interruption so that adjoining strips merge while still fluid.
Step 4. Perimeter movement joints. Fit a strip of flexible foam or thin expanded polystyrene along the walls and around columns, and seal the floor-to-wall junction with expanding foam. The perimeter joint accommodates movement in the levelling layer as it sets and later, while the floor is in use. It also prevents walls from absorbing the liquid compound. Additional intermediate movement joints are used in long, narrow spaces such as corridors, and at door thresholds. Existing movement joints in the substrate must be carried through into the new layer.
Step 5. Setting the level. Use levelling pins, screws fixed into plugs or screed levelling tripods to mark the required height, checking it with a spirit level or levelling instrument. Calculate the layer thickness in advance, allowing for the thickness of floor panels, tiles or any other finish. Marking the level on the walls also makes it easier to see where more compound is needed and where too much has been poured.
Step 6. Mixing the compound. Measure the amount of water specified on the packaging into a bucket, gradually add the dry powder and mix with a slow-speed mixer for one to two minutes. Leave it to stand for around three minutes, then mix again to activate the polymers and other additives. The order matters: emptying a whole bag into a dry bucket and adding water afterwards makes mixing more difficult and leaves lumps. The mix must be neither too thin nor too thick. Check its consistency with a flow test: release a measured quantity from a flow ring, measure the diameter of the spread and compare it with the figure in the technical data sheet.
Step 7. Pouring and releasing trapped air. Pour the compound in strips 30 to 40 centimetres wide, starting at the point furthest from the door and working backwards towards the exit. Mix the next batch while the previous one is being poured so that adjoining strips merge while still fluid. This requires a team of at least three people. Spread the compound with a steel trowel, then make several passes with a spiked roller to release trapped air and smooth the surface. Wear spiked overshoes when walking across the freshly poured compound.

Tools and materials
The equipment list is short, and everything is available from a builders’ merchant or DIY shop. The tools required are:
- a large mixing bucket and a slow-speed drill with a mixing paddle;
- a spirit level or levelling instrument, together with levelling pins or plugs and screws;
- a steel trowel for spreading the compound;
- a spiked roller with a long handle;
- spiked overshoes;
- a wide brush for applying primer and a vacuum cleaner.
Materials:
- a dry self-levelling mix suited to the required thickness and the room;
- primer;
- polyethylene foam perimeter strip or thin strips of expanded polystyrene;
- expanding foam;
- epoxy resin and glass-fibre matting for repairing cracks.
Drying times and laying floor finishes
A standard self-levelling compound takes one to seven days to dry before further work can begin. Rapid-setting products shorten this to around 24 hours. Drying time depends on the thickness of the layer and the room’s temperature and humidity, with thicker layers taking longer.
The initial hardening that allows foot traffic occurs before the compound has fully dried and does not mean it is ready to receive a floor covering. Before tiles, floor panels or other coverings are laid, the layer must be dry throughout its thickness. The manufacturer gives the relevant waiting time on the packaging, and this varies too much between products for a single general rule to apply.
Choosing between cement-based and anhydrite products
Cement-based compounds are used in rooms exposed to moisture, including bathrooms, kitchens, utility rooms and garages. Anhydrite products suit dry interiors and work well with underfloor heating.
The binder in an anhydrite screed is dehydrated gypsum. This type of mix conducts heat well, has low shrinkage as it sets and offers a long working time, making it more forgiving of a slower pace. A thin surface layer known as laitance forms on top and must be mechanically sanded off before a floor finish is laid. Anhydrite is unsuitable for damp rooms or outdoor areas such as terraces, balconies and steps.
Cement-based screeds resist moisture and loading, dry faster than anhydrite screeds and can be used in unheated rooms and outdoors. They are also suitable for underfloor heating and areas with heavy foot traffic.
Application depth is a separate consideration. Thin-layer levelling compounds are laid at thicknesses of 2 to 50 millimetres, while thicker self-levelling screeds can reach 10 centimetres and serve as the floor’s screed layer in their own right. The permitted range for each product is given in its technical data sheet. Applying it outside that range causes cracking.
Costs and coverage
In August 2026, a 25-kilogram bag of self-levelling compound costs around PLN 27 to PLN 67, depending on the product grade and setting speed. Consumption is 1.5 to 2 kilograms of dry mix per square metre for each millimetre of thickness. One bag therefore covers around 2.5 to 3.3 square metres at a thickness of five millimetres.
To calculate the number of bags, multiply the area in square metres by the average thickness in millimetres and the consumption rate given in the technical data sheet, then divide by the weight of one bag. Use the average thickness, rather than the minimum, because every depression in the substrate increases consumption. Allow for primer and perimeter strip as well as the compound itself, plus labour costs on larger jobs.
Common application mistakes
The amount of mixing water presents the greatest risk. Too much causes the mix to segregate, leaving a weak, dusty surface. An overwatered batch cannot be salvaged and must be replaced. Too little water prevents the compound from flowing to a level and smoothing the substrate.
Mixing too quickly is another common mistake. It introduces air and makes the mix foam, leaving craters from air bubbles that weaken the finished surface. This is why using a spiked roller is essential.
The third mistake is applying the wrong thickness. A layer thinner than the manufacturer’s minimum cracks as it dries, while an excessively thick layer expands internally and also cracks. The fourth is trying to speed up drying. Open windows and heating drive off water before the compound has set, causing shrinkage cracks and debonding from the substrate. There are also two things a self-levelling compound cannot do: repair an unstable substrate or form a fall in the floor.

Frequently asked questions about self-levelling compound
What goes beneath a self-levelling compound?
A primer beneath the compound seals the substrate and makes its absorbency more uniform, while flexible foam provides a perimeter movement joint along the walls. On timber floors, an uncoupling mat is used as a separating layer. In kitchens and bathrooms, an additional waterproofing product is applied after priming.
Can self-levelling compound be poured over existing tiles?
Yes, once their condition has been checked. Remove damaged or loose tiles, fill the gaps with a floor repair compound and prime the whole surface with a product suited to non-absorbent substrates.
Can self-levelling compound form a fall in a floor?
No. The compound flows to a level, so in a utility room or garage with a floor drain, the fall is formed with a conventional concrete screed or when laying the tiles.
Does self-levelling compound need reinforcement?
Usually not, because it does not deform during the initial curing stage. Reinforcement is used when the manufacturer requires it: glass-fibre mesh for thin layers and steel mesh for thicker ones.
Is self-levelling compound suitable for a garage?
Yes, provided a cement-based compound is chosen for its greater resistance to moisture and loading. Finished with a protective clear coating, it can serve as the garage’s finished floor.
The choice of binder, layer thickness and sequence of work depends on the final floor finish. During a full flat renovation, these decisions are made alongside those about the layout and building services.
For support from design through to final inspection, find architects, interior designers and interior photographers in the PLNDesign directory.
See also:
- Chronos draws on European garden traditions for its outdoor designs
- Klangor Studio frames forest views at gabled house near Warsaw